How to Create a Minecraft Server in 5 Minutes
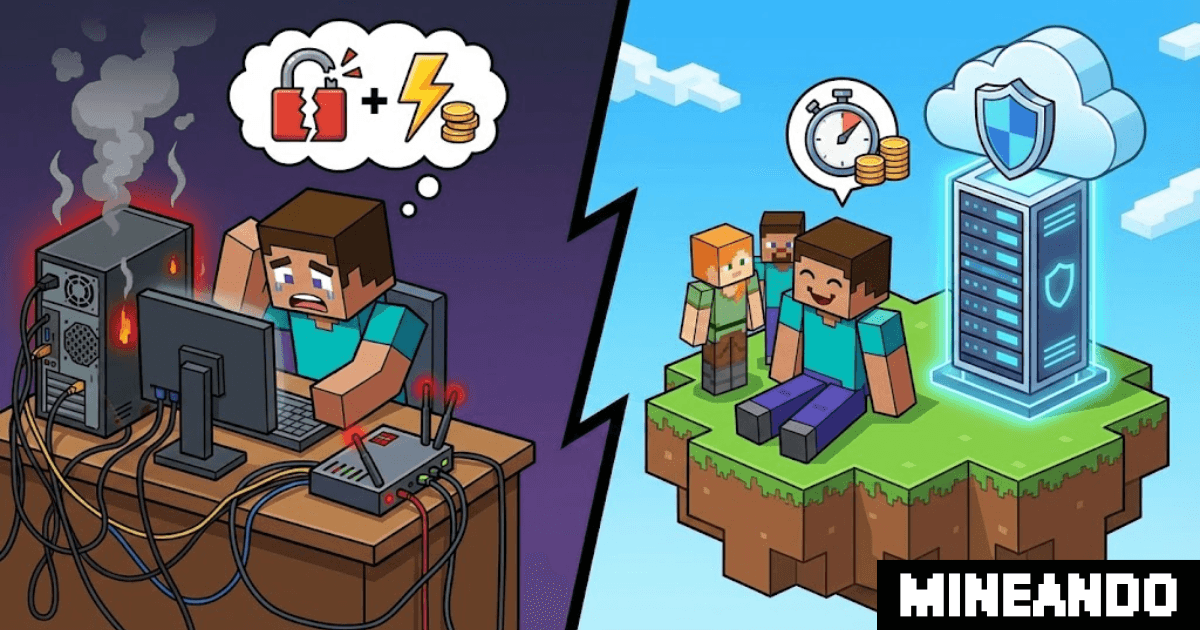
Creating a Minecraft server does not require opening ports on your router or leaving your computer running. With managed hosting, you can choose the software, version, and resources, create the server, and share its address with friends in a few minutes.
The important part is not clicking “Create” as quickly as possible. It is making three good decisions first: what the group will play, which version everyone needs, and how demanding the world will be.
1. Choose the right server type
Start with the kind of experience you want:
- Paper is a practical choice for Minecraft Java, offering a vanilla-like experience, performance improvements, and plugin support.
- Fabric suits lightweight mods and modpacks built for that loader.
- Forge or NeoForge are common choices for larger modded setups.
- CurseForge makes it easier to start from a prepared modpack when the pack and plan are compatible.
Do not choose server software at random. A Paper plugin is not the same as a Fabric or Forge mod, and a modpack needs the loader and Minecraft version it was built for.
2. Pick a compatible Minecraft version
For a normal Java server, players need a client version compatible with the server. For a modpack, they should also use the same pack and usually the same loader version.
Do not select a version only because it is the newest. Check that the plugins, mods, and maps you need support it. If the world matters to your group, make a backup before changing versions later.
3. Size the server for its real workload
RAM needs depend on more than player count. Mods, plugins, view distance, chunk generation, farms, and world size all affect the load.
Start with a sensible plan for the current project, then increase resources only when monitoring or actual play shows that you need them. Our Minecraft server RAM guide explains the main factors without treating one RAM number as correct for every server.
4. Create the server on Mineando
From Mineando’s hourly Minecraft hosting page, open the panel and prepare the server:
- Give it a recognizable name.
- Choose the server type and a compatible version.
- Select a plan for the expected players and workload.
- Review the hourly cost shown in the panel.
- Create the server.
The server is created in a stopped state so you can review it before active game time starts. When the configuration looks right, start it from the panel and wait until it is available.
5. Connect and invite your friends
Copy the server address from the panel and add it under Multiplayer. Test the connection yourself before sending it to the whole group.
If someone cannot join, check these basics first:
- their client uses a compatible version;
- they have the same modpack when the server is modded;
- the address was copied correctly;
- the server has finished starting.
For a private world, enable the whitelist from the console:
whitelist on
whitelist add PlayerName
6. Protect the world before the first session
A few minutes of preparation can prevent hours of repair. Create a backup, limit operator access, review the whitelist, and test plugins or mods before everyone joins.
It also helps to decide who can manage the server and when it should be stopped. Use our Minecraft server checklist before inviting friends to work through those checks in a practical order.
How does hourly pricing work?
Mineando uses credits, and the panel shows the server’s hourly cost. You can start the server when the group wants to play and stop it afterward. Stopping it means the game instance is no longer active, while the world and configuration remain saved.
That model works especially well for groups that play in planned sessions. If you need a public server available at any hour, compare your expected monthly usage before deciding.
Do you need port forwarding?
Not when you use Mineando. The server runs on the hosting infrastructure and you receive an address for players to use. Port forwarding is part of the process only when you host the server on your own network.
Conclusion
To create a Minecraft server without unnecessary complications, choose the play style first, use a compatible version, and size resources for the real workload. Then create the server, test the connection, protect the world, and share the address with your group.
That keeps a five-minute setup from turning into weeks of version, mod, or performance problems.